Huevember is an art challenge I've done twice before, in 2020 and 2022. I've written about both of them with commentary about the drawings and my experiences with the challenge:
This challenge usually involves a color wheel as the prompt, with hues assigned for each day in November, starting with a yellow hue and going through the color wheel.
As much as I like writing extra stories for Magical Renegades, I intentionally kept this challenge simple this time because I burnt myself out on how complicated I made the last challenge. But who knows? Maybe I'll be able to combine more installments of the Roll For It! Spin-off with Huevember drawings for a 2 in 1 art challenge!
The drawings of cats are for a 2 in 1 art challenge since they're also for Meowvember, a cat-themed challenge I found on Mastodon this year. I thought it was perfect for a challenge that'd be fun but simple enough that I could complete drawings in a day for it... Just as long as I don't try to fit anything into Magical Renegades canon as a cat AU 🙃
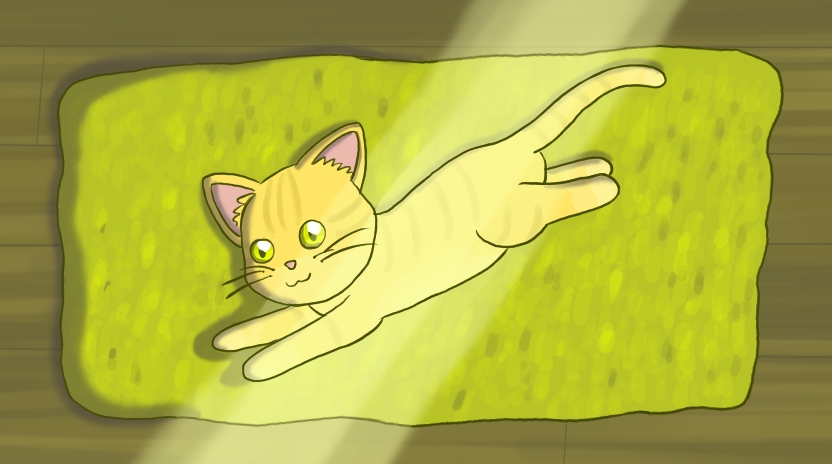
Immediately after I found out about Meowvember on my timeline, I immediately started drawing this from start to finish! The prompt for days 1 and 2 is "Warm" so this is a cat lying on a rug that's in a sun puddle. This and the next drawing took some inspiration from 1970's aesthetics because of the dominant hue.
There was another sketch I originally started on day 1 before this one, but moved it to day 3.

A cat keeping warm by wearing a sweater and lying in front of the fireplace! I was a bit undecided on what aesthetic I was going for; the metal decorations of the fireplace are Art Nouveau-inspired, but that wallpaper in the background is more 1970's-inspired. 🤔
Last month when I was thinking over what to draw or 3D model in anticipation of Huevember, I had some ideas for 1970's-style rooms and decor since orange, yellow and green were often the dominant hues.
A portrait of Aurora in a casual outfit and her casual hairstyle. The last time she was seen with this hairstyle in Anathema to Commonsense was all the way back in episode 7.5, and based on my update schedule that was a few years ago! I sketched this for day 1 of Huevember before I found out about Meowvember, but hadn't finished coloring it then.
I made a sketch for day 3 of Meowvember with the prompt "Baker", but decided to move it to day 4 because the Huevember palette for day 4 is more orange and fits better with what I wanted to do, so I moved this sketch that I started on day 1 to day 3 because the overall palette is still close enough to what I wanted when I planned it. It's a mix-up but one that I think works better than I planned 😅
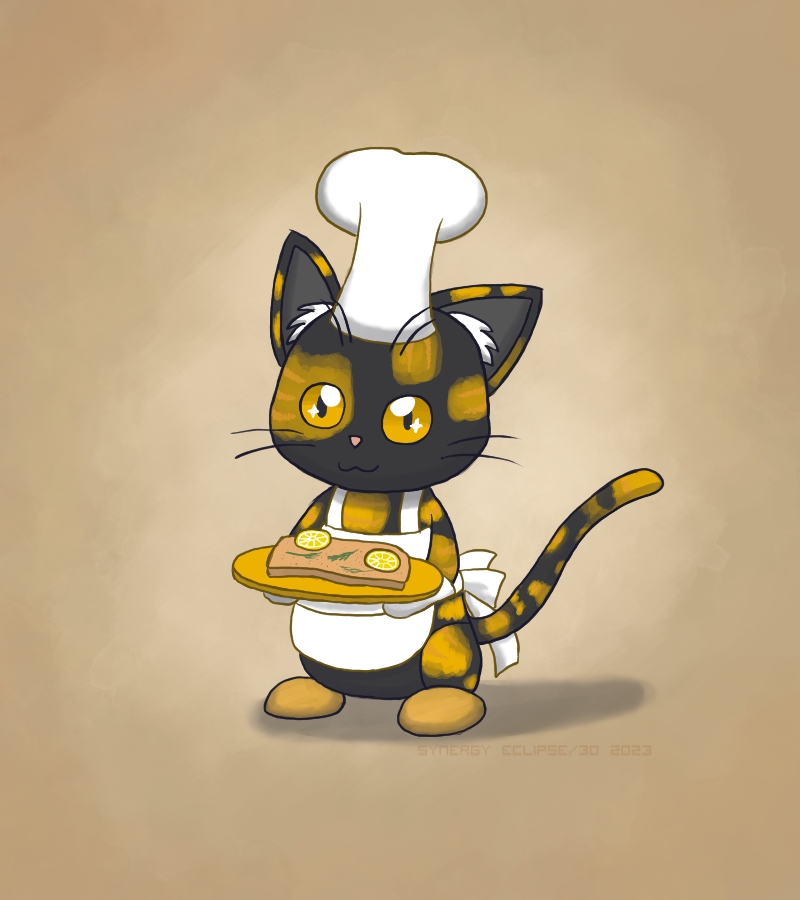
A cat holding a plate of baked salmon with lemon and rosemary. The cat likes how it turned out! I wanted to color a tortoiseshell cat for this drawing so colored it in for day 4.
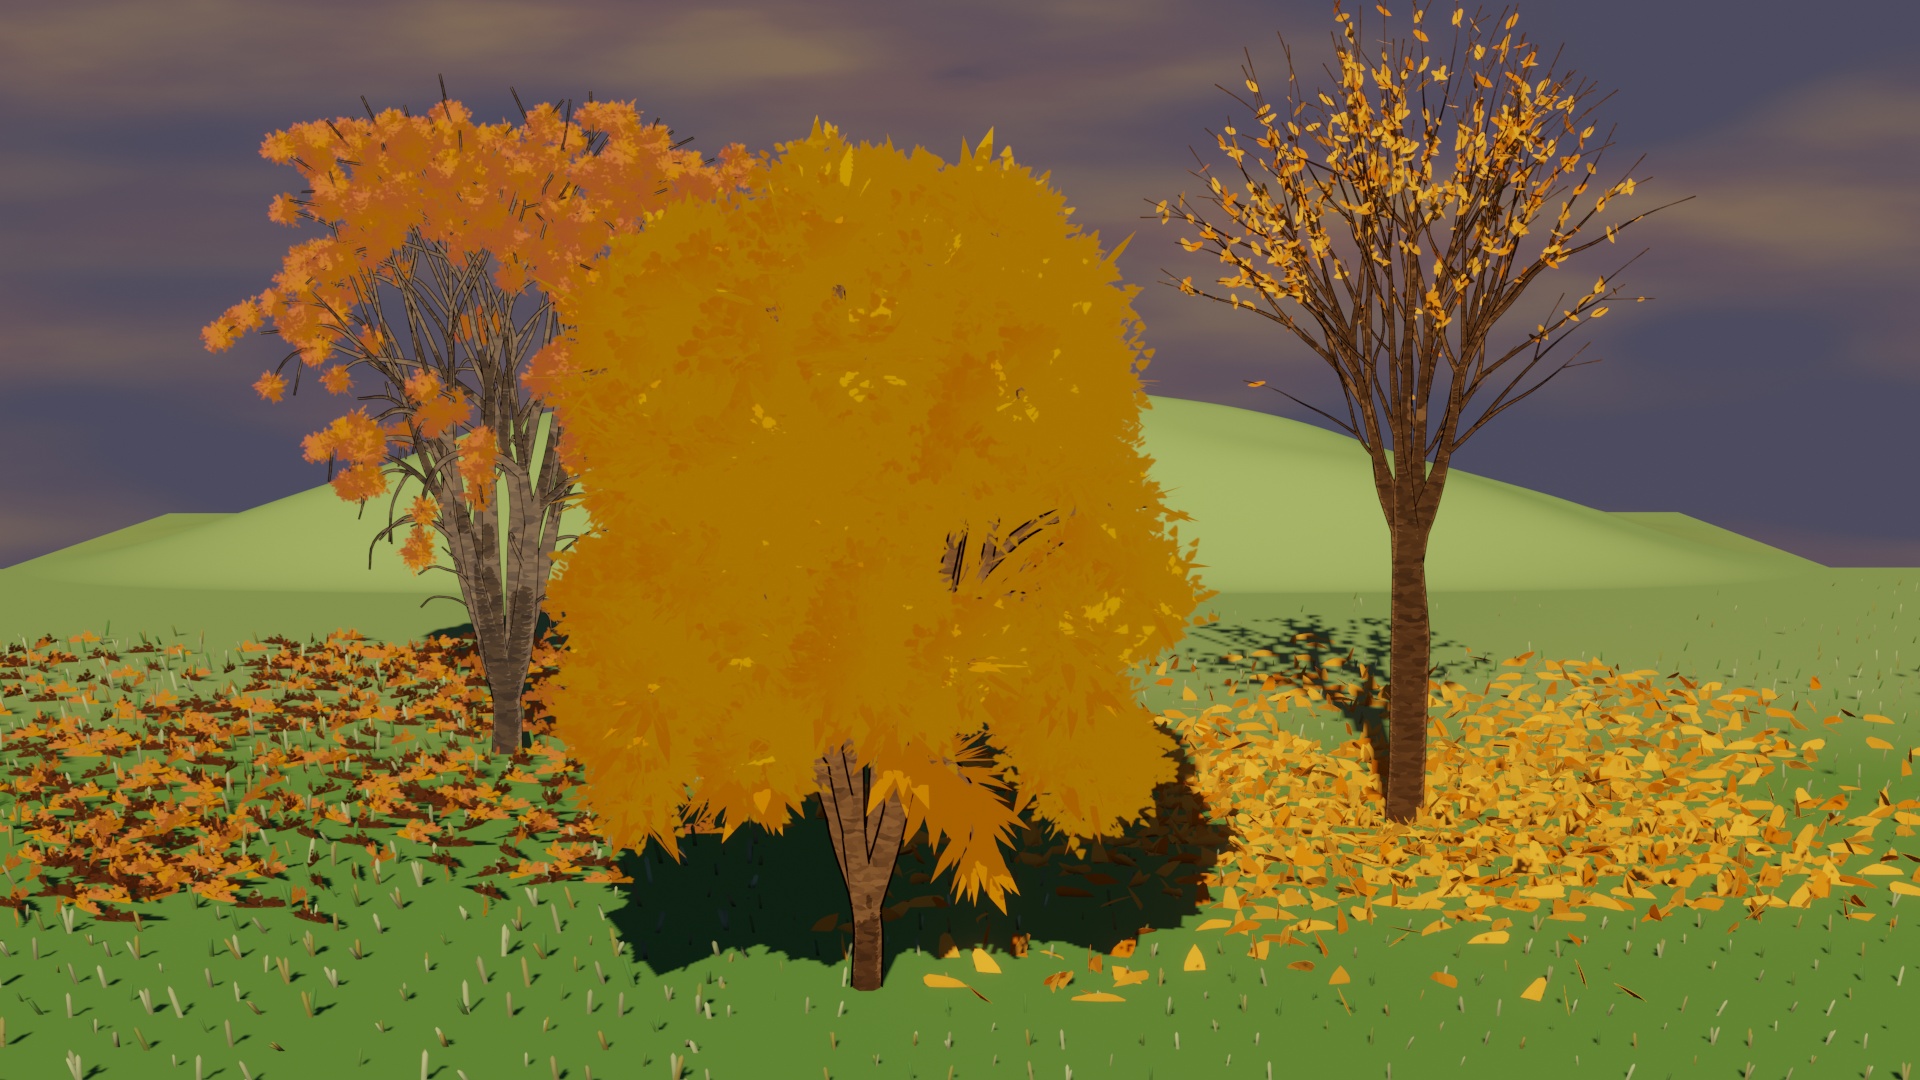
Stylized trees in fall colors, using the particle system for fallen leaves and the grass. Learning how to make these will be very helpful for outdoor scenes in my webtoon.
This is similar to the day 4 drawing I did for last year’s challenge, but this is an experiment with 3D modeling. Outdoor scenery can be daunting to start 3D modeling and it started that way for me.
The first time I tried to model a tree with leaves was in 2020 for a scene but the techniques I used then were so inefficient 😩 I don't remember what I did to model the base of the tree and the branches, but I remember trying to manually place individual clusters of leaves along the branches! Pain...
There had to be a better way, and there are. The free add-on Sapling Tree Gen is so helpful for creating trees with leaves!
I used Sapling Tree Gen as a starting point for these trees but followed along with tutorials to make the leaves on them more stylized; clusters of them were used in a particle system. Through weight painting the branches and assigning that vertex group to the particle system, it places the leaves only along the painted branches.
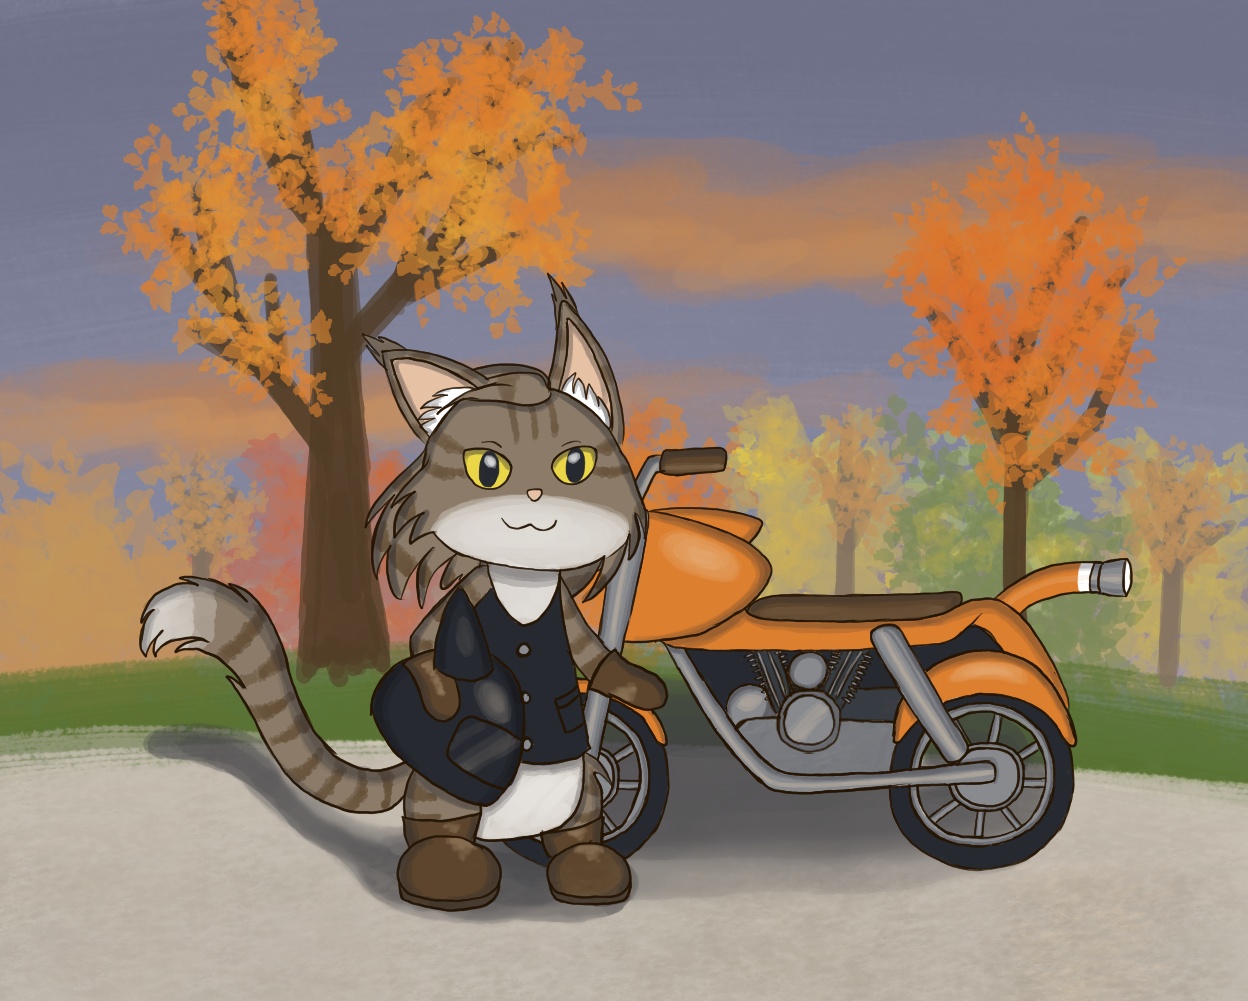
This drawing was finished and posted on the 10th but is for Meowvember and Huevember day 6.
A longhaired biker cat with fur blowing in the wind, stopping along a nature trail to enjoy the scenery. The idea for this was easy; I wanted to try drawing a long-haired cat with its fur blowing in the wind while it was riding a motorcycle or standing by it but there was a breeze.
Putting these cues together into a drawing idea was easy, but sketching the motorcycle was by far the hardest part 😩
Or rather it was a *meow-torhcycle* with cat elements on it... A bad pun I just had to say. The background is inspired by the vibrant colors of early autumn. Most of those colors are gone in late autumn, with many trees having lost all of their leaves, but I channeled the colors of the early season.
Today I put together this page. Not having this together earlier is another thing that slowed me down and I'm still playing a game of catch-up since I've been very busy for the past few days and the drawing I'm working on for day 8 still isn't finished yet. It's another ambitious Magical Renegades drawing with more lore to go with it but I'll be excited to reveal more lore!
I'm not sure if I'll make anything for day 9 although I wanted to with that hue, but I started the piece for day 10 today and started the sketches for my day 11 and 12 drawings yesterday.
I started sketching an ambitious Magical Renegades drawing for this day. It's one of those drawings that'll take days to complete and have a story to be written with it, but I was willing to draw and write them despite the extra time they take since they'd cover more lore I wouldn't be able to get to soon in the webtoon.
It's still in-progress and I mostly colored it with the day 8 hue but I can adjust it to include the day 7 hue so I don't miss day 7 twice in a row.
I would've really liked to draw or color something for this challenge but skipped this day because the drawing for days 7 and 8 is taking too long and I already had a lot of catching up to do. One of the ideas I had in mind was 3D modeling a 1950's-style kitchen or diner scene because bright red decor and appliances were one of the popular aesthetics then.
Before I started Huevember this year I was already looking into a lot of 1950's - 1970's decor and thought about drawing or modeling it throughout the month because the furniture styles are simple but often colorful and eye-catching and I like them for that. Although I didn't get to that, looking into these styles influenced the style of the day 1 and 2 drawings.
I started this on day 12, and finished on day 15 while trying out Blender 4.0! The switch from 3.6 to 4.0 didn't cause any issues. I'm glad that Blender releases include the option to import the settings and add-ons from the previous version because it would've been a hassle to try to find all of the add-ons all over again!
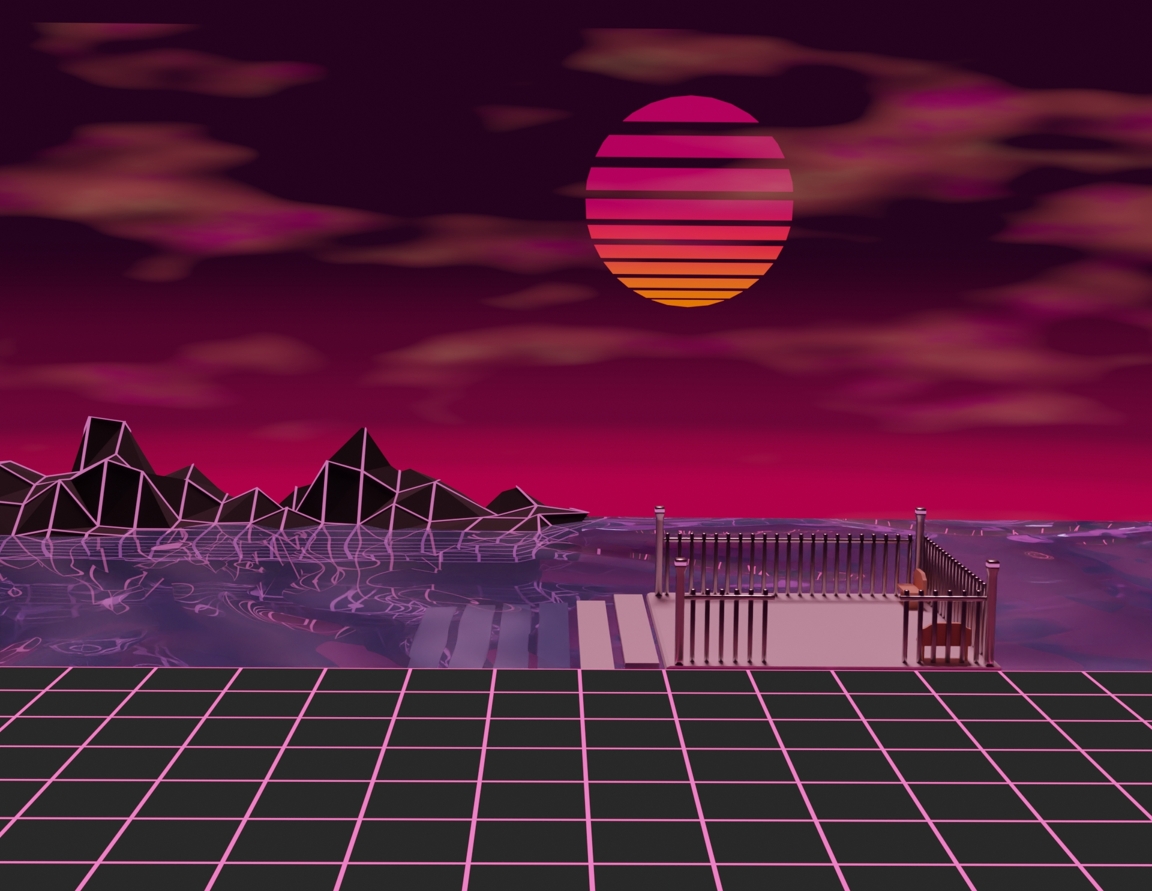
In both of the previous Huevember challenges I did, the drawing for day 10 was Outrun-inspired and this fits the pattern again. This piece is an experiment in making a scene in Blender with a procedurally-generated sky and grids. When I saw how to use the Wireframe modifier some time ago, I immediately thought it'd be perfect to use in an Outrun-inspired piece and this was a chance to do that!
I started this piece day 12 while I was trying to catch up. I used the same technique I have been using to create the clouds, but I would've also liked to try modeling volumetric clouds. When I'm not in still in catch-up mode I might try it on another.
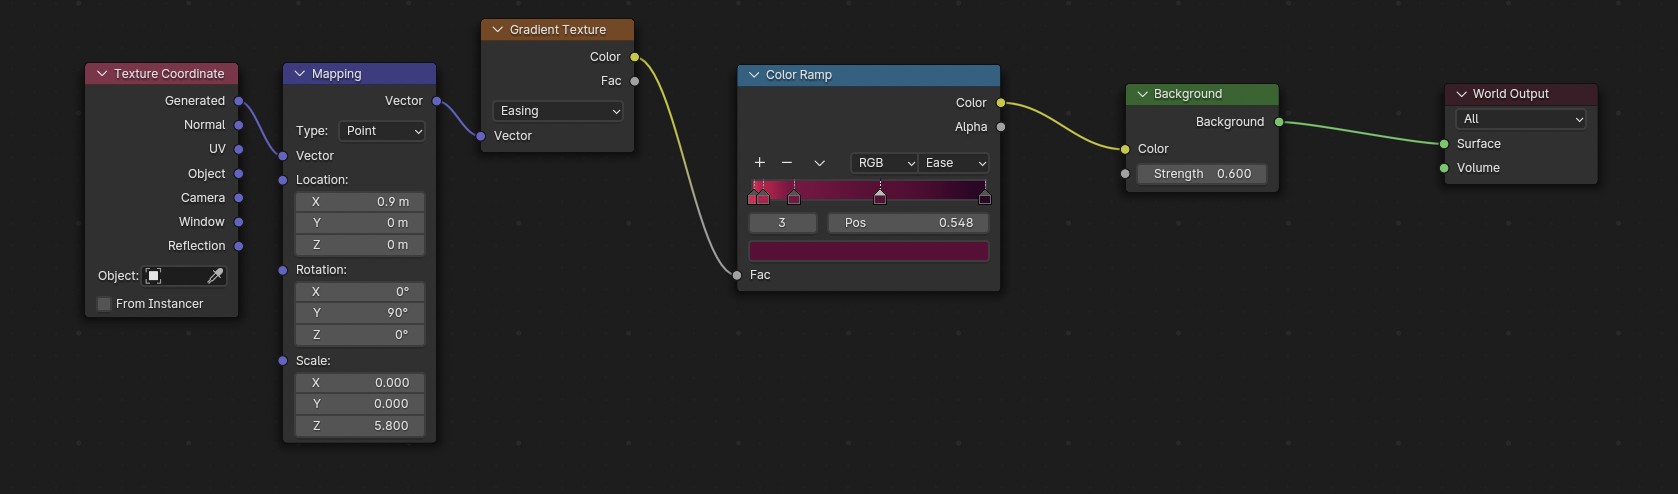
This is my setup for a basic sky with a vertical gradient. The X value for the location in the Mapping node needed to be adjusted to get the ratio of colors I wanted, and the Rotation is set to 90 degrees to make it vertical. It was horizontal by default.
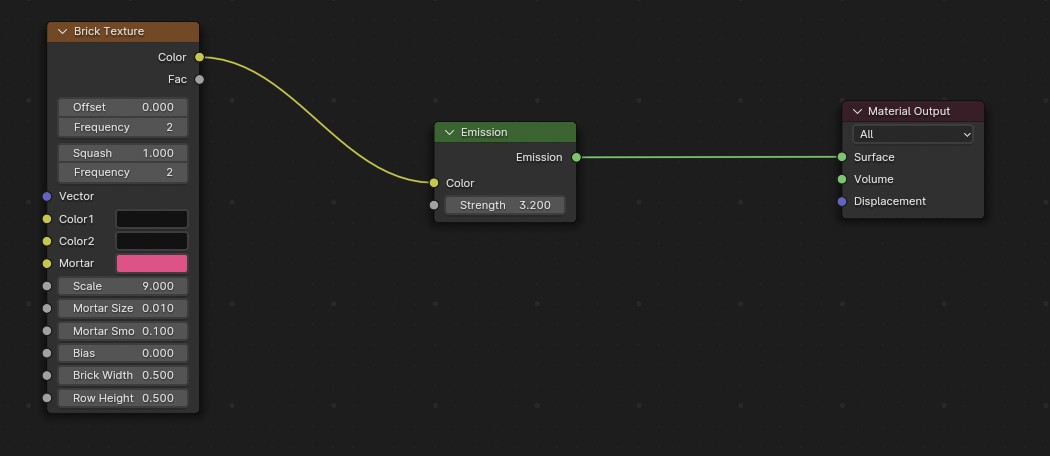
The setup for the floor grid is just 3 nodes. The Brick Texture node created the pattern; adjust the offset in it to 0, set Color 1 and 2 to black. The grid lines come from the mortar, and they glow because the colors from this node are plugged into the Emission node. The rest of the floor doesn't glow because black doesn't produce any glow when it's set as an Emission color. Brighter colors glow more.
However, the Emission node makes an object unaffected by shadows, lighting and reflections. I chose this so there'd be more contrast, but making the floor affected by the lighting is an easy change:
I made the wireframe mountains by creating a cube object, stretching it out horizontally, adding several subdivisions and selected random vertices at the top. With proportional editing enabled I selected the "Random" setting which raised those vertices and randomly raised the heights of the nearby vertices. I used a low-reflectivity dark gray material for it (Roughness set to 1 in the Principled BSDF node).
When I was ready I duplicated it, used the Wireframe modifier on the duplicate and applied an emissive material to it that is around the same hue as the floor grid.

The Decimate modifier was used on both of the mountains with the same settings, and the Wireframe modifier was added to the duplicate. The Decimate modifier needs to be above the Wireframe modifier.
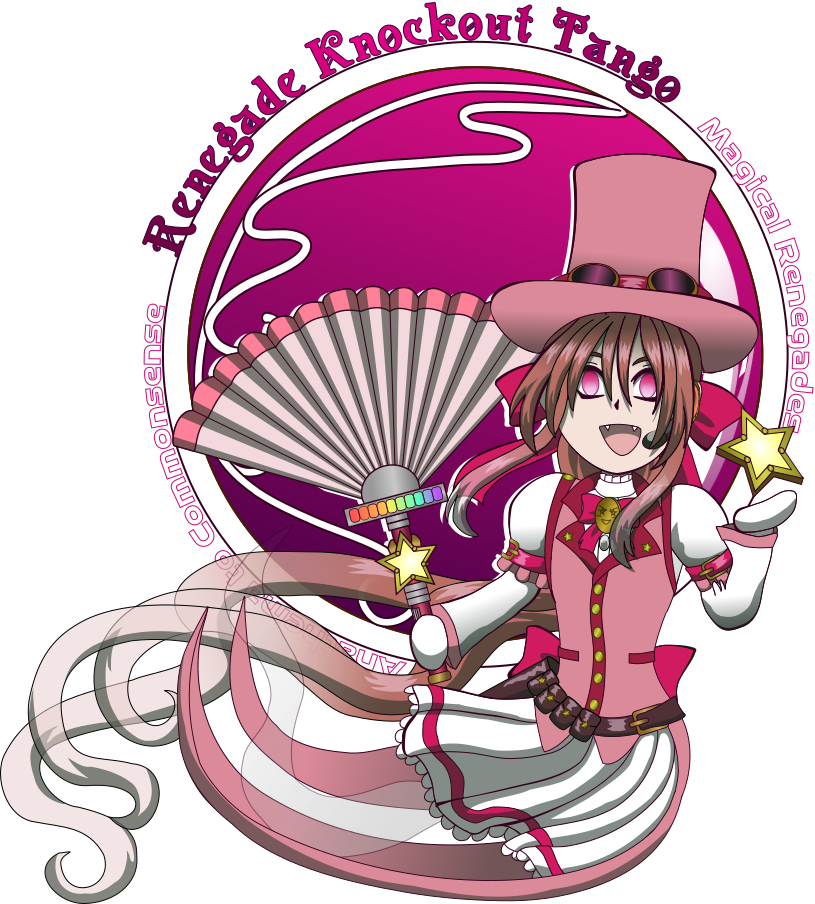
An Art Nouveau-inspired chibi vector piece of Renegade Knockout Tango. This is also a throwback to the promotional Magical Renegades drawings I made last Huevember that were in this style. Her design hadn't been drawn then, but I can draw it for this challenge this year!
Looking back at that page, it mentioned in the day 8 drawing that Renegade Threat Level Red Alert hadn't appeared in the webtoon but would in an upcoming episode, but she finally made her appearance afterwards!
As with that drawing, I adjusted the hues of Knockout Tango's hair color and most of her outfit in this one to better fit the main hue for this day. Even without the adjustments they didn't appear all that far off although the lighter parts of her outfit are actually a light red.
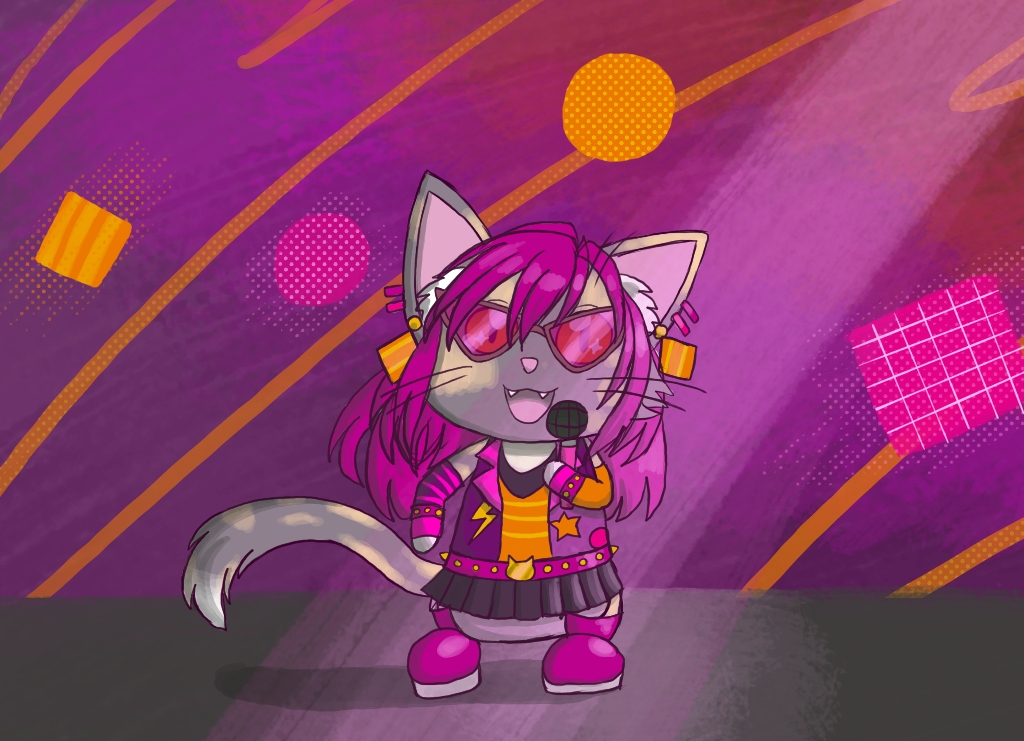
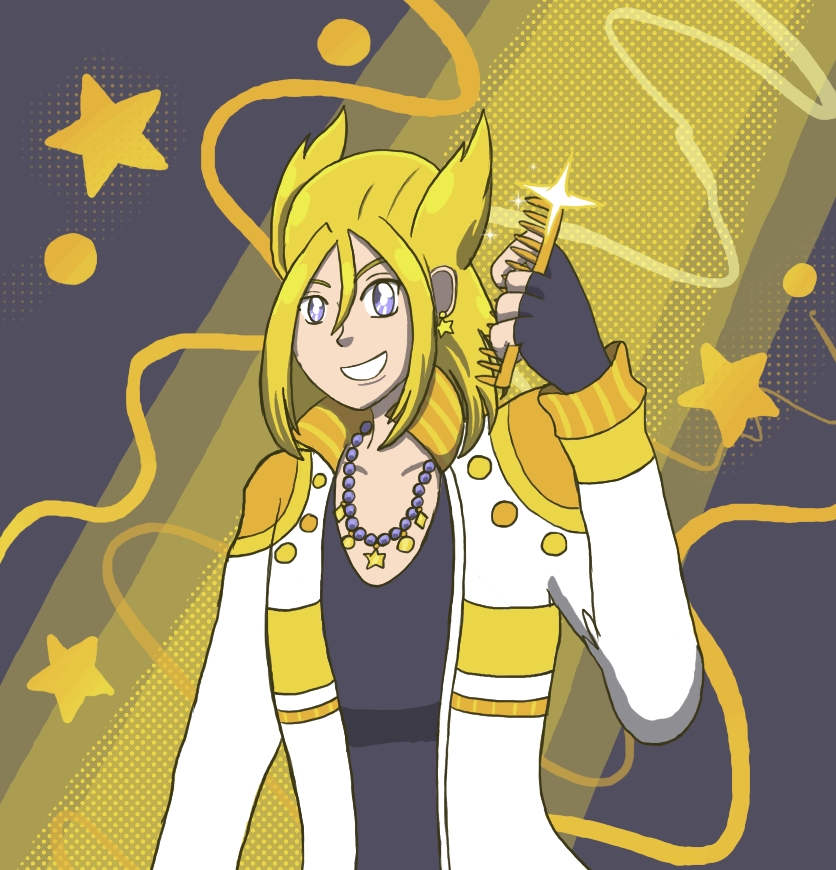
This is for Huevember and Meowvember day 12, and the prompt for Meowvember is "Outfit". After a difficult and ambitious drawing for days 7 and 8 I wanted to keep the next ones straightforward. The hue for this day fits the colorful aesthetics of glam rock so I drew a cat in a glam rock outfit.
Continuing the game of catch-up, I also started the sketches for day 11 and 12 today, but it took until day 25 to complete and 27 to upload due to not having much time for several days.
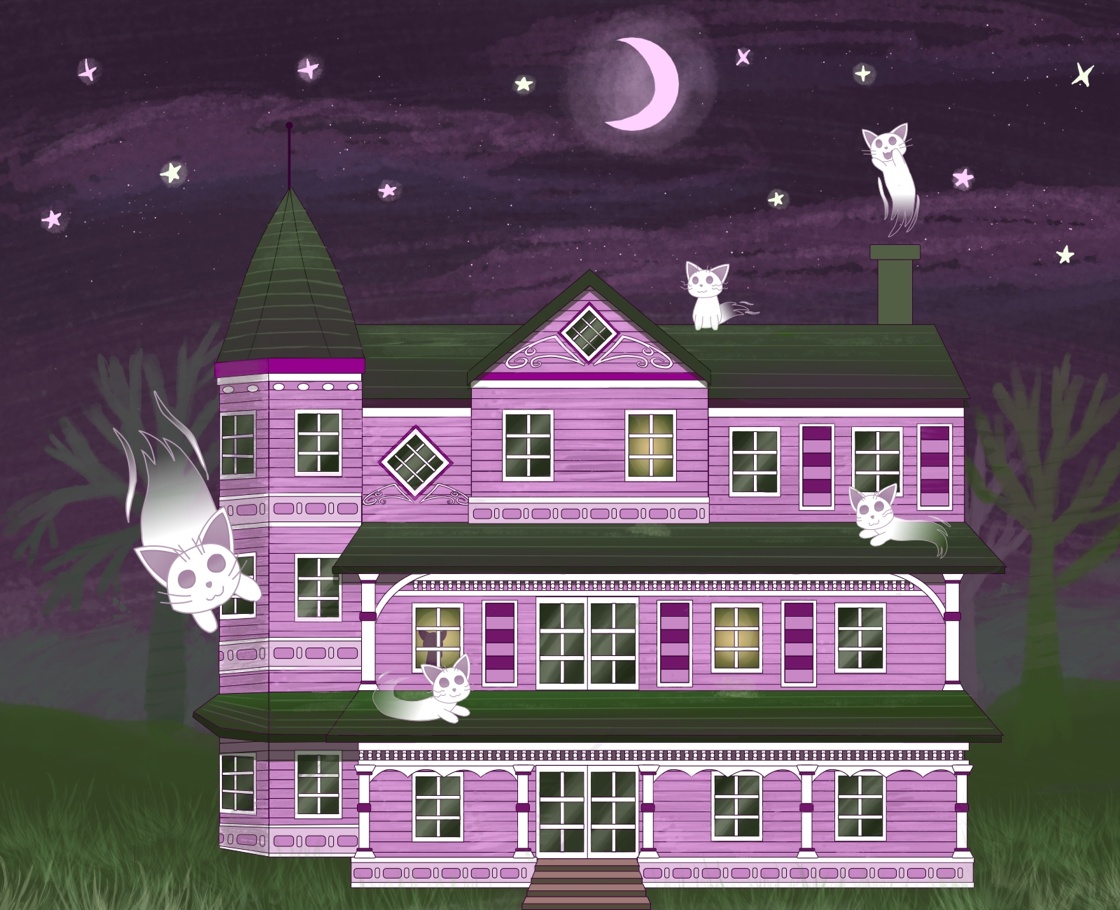
This drawing is also for Meowvember day 13 "Ghost". Ghost cats hang out around a Victorian-style house at night, whether or not anyone is living there! Victorian-era houses are the most associated with haunted houses, but these houses can be very colorful too which made them a good fit for this challenge.
The house is based on Queen Anne-style architecture. I would've liked to try to 3D model the house and render it with line art, but I was trying to catch up but keep the Meowvember drawings simple. That was the point of getting into that challenge; one that's fun and can easily be kept simple. Remaking this house as a 3D model is an experiment I wanted to try though; drawing a house like this in 2D from one angle, and trying to model it in 3D from all angles are very different experiences.
I drew the house and ghost cats in Inkscape, the background and watercolor effects in Krita. I tried to give a storybook feel with the painting effects.
I started the 3D modeling for the day 10 piece, and considered drawing a piece for this day but skipped it to focus on the day 15 drawing which includes the hue for this day. Although I didn't get to a drawing for this day, I incorporated the hue for it into the day 15 drawing.
I made the sketches for days 13, 14 and 15 today. This drawing is also for Meowvember day 15 "Farmer", and includes the hues for days 14 and day 16.
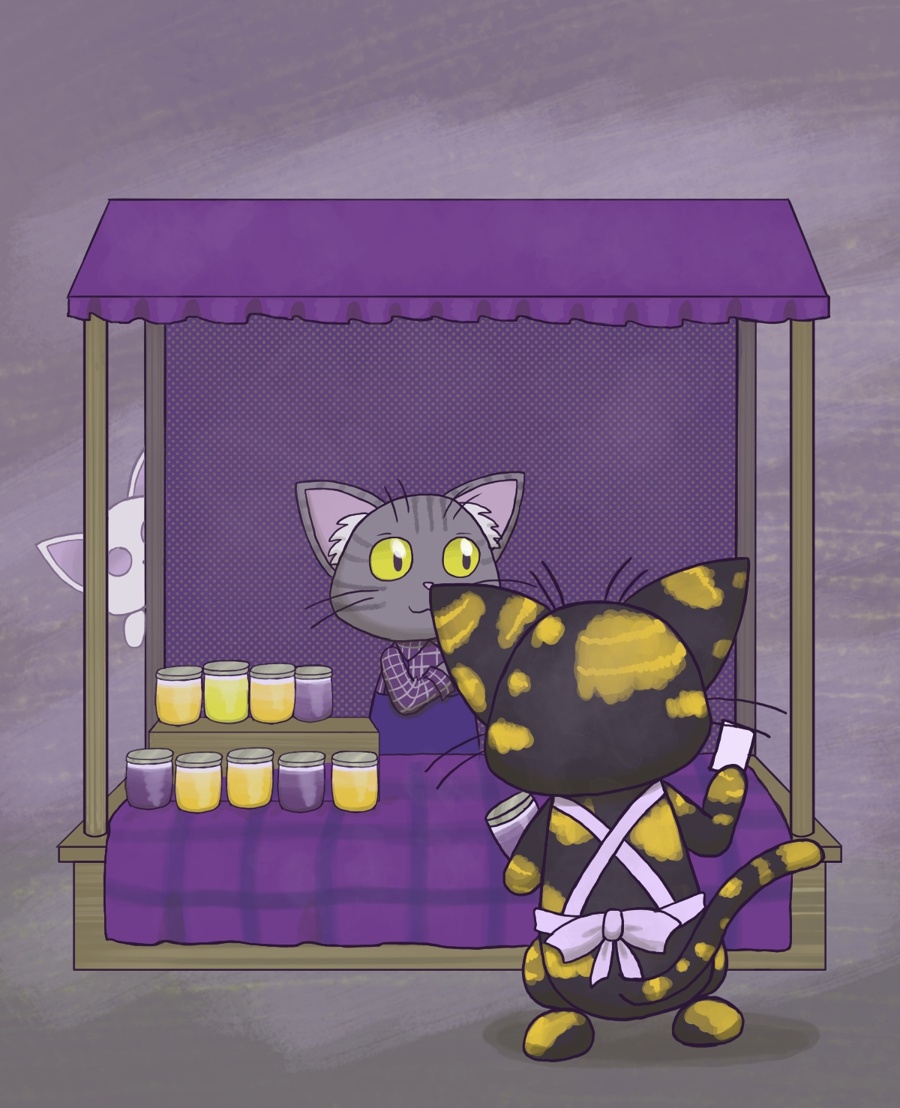
This is of a farmer cat selling jam at a farmer's market, with a couple of recurring cats showing up from earlier Meowvember drawings. The color scheme is mostly purple and predominantly in the hue for day 15, but also includes them from days 14 and 16. Orange and yellow are secondary hues.
It's near the end of the month and I still have drawings that are in-progress for days 7+8, 17 and 18 and plans for at least one or two more drawings in the blue or green hues. Huevember is going to have to extend into December for me, but I'd rather finish these pieces late and reach near the end of the color wheel for the challenge.
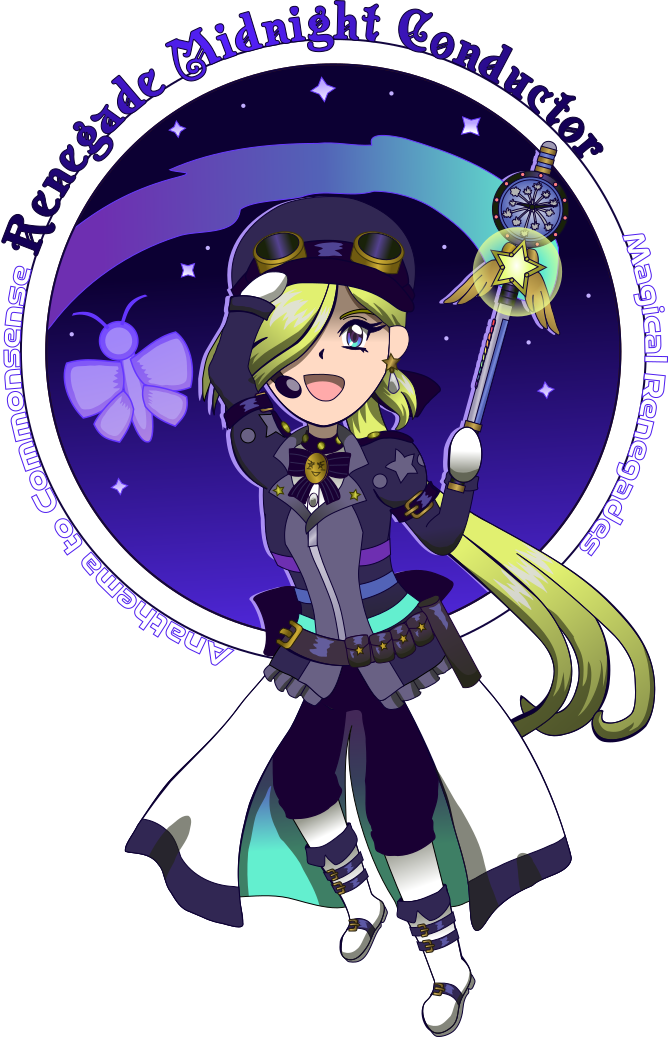
An Art Noveau-inspired promotional drawing of Renegade Midnight conductor in the Magical Renegades promo pieces I made for last year’s Huevember challenge. I continued these promo pieces earlier with the drawing for day 11 of Renegade Knockout Tango. Her design didn't exist during last Huevember, but I didn't draw this piece for Midnight Conductor last year since I already drew other pieces for those hues. This year's challenge was another chance for them!
This was hard to notice, but most of Midnight Conductor's outfit that's normally dark gray are less saturated versions of the day 17 hue (Hue value: 254), which is a bluish-purple. It looks more purple when less saturated and more blue when saturated; the background and the text also have the same hue but saturated.
The black parts of her outfit are darker versions of the day 16 hue (Hue value: 269) and the blue pieces of her weapon are based on the day 18 hue (Hue value: 230). I think this is interesting and fits Midnight Conductor having a drawing with these hues since Midnight can refer to black but also dark shades of blue and purple.
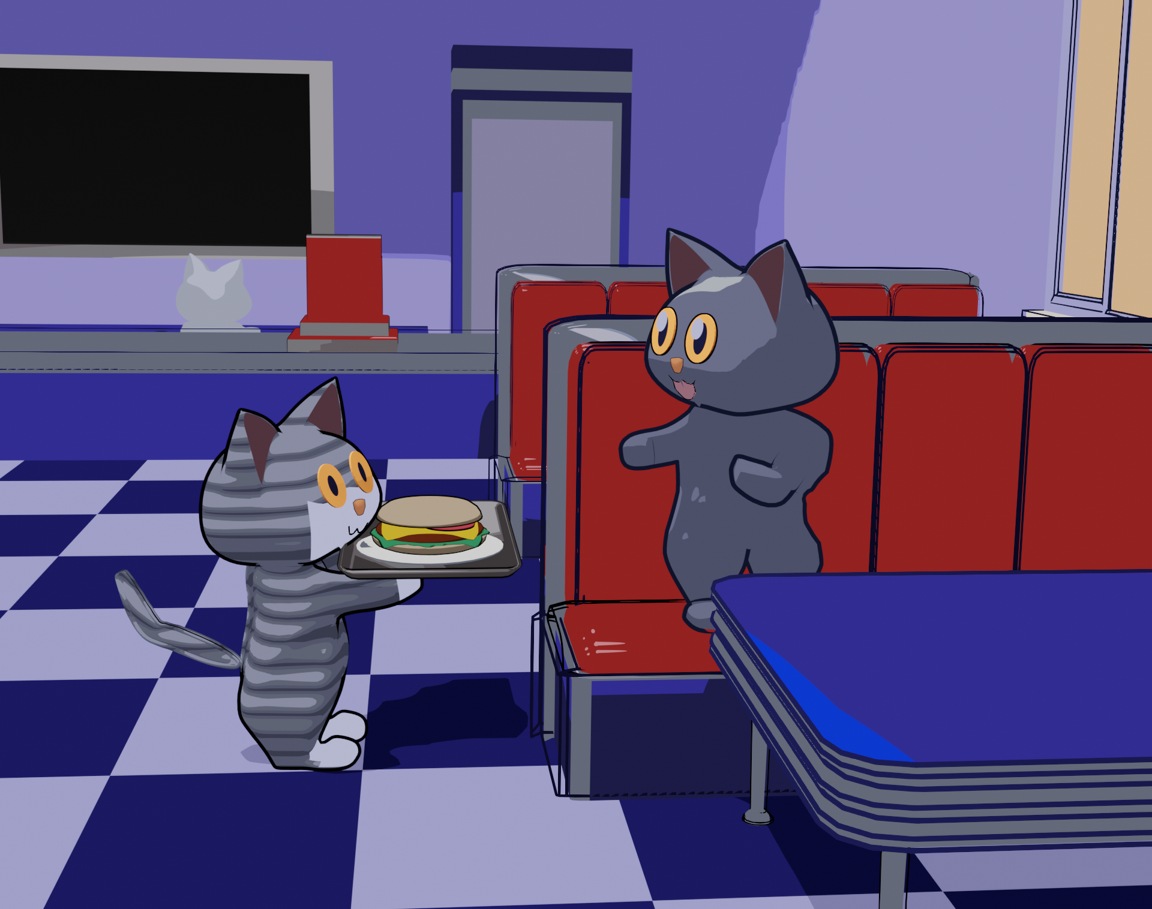
This piece is also for Meowvember day 18 with the prompt "Food", but also ties into the Meowvember prompt for days 19 and 20 "Meme Cat" with a retro meme! It's a reference to the I Can Haz Cheezburger? Meme but wasn't entirely intentional; I chose for a British Shorthair-looking cat as the subject for this piece because their coats are bluish-gray and nicely fit with this hue.
The tabby's coat pattern isn't realistic and was my attempt at trying to combine the flat shading technique I used with a pattern, but for it to not be realistic this time is actually fitting because the art style that inspired this render rejects realism. It'd still be good to figure out how to do this correctly for a striped pattern, but I got the checkerboard pattern to shade by plugging in Color Ramp nodes for both of the checkerboard colors. The Color Ramps have the lighter and darker shade for each of the colors.
When I sketched the idea for this piece, I planned to just model the furniture and background, use the render as a reference and draw over it to fit the art style of most of my other Meowvember drawings to keep this simple, but I changed my mind while I was modeling the furniture. I found some great tutorials about other techniques to create line art in Blender!
I wanted to try one of them that I hadn't before, and to keep the art style consistent, I modeled the cats, rigged and posed them for this scene. When I was making this model I hoped that I'd use the renders directly in the final piece, but was going to use them as references and draw over them if they didn't turn out as expressive as I hoped, or if there were other issues when posing them.
The cats, the tray and cheeseburger use the line art technique I've been using that uses the Solidify modifier that's set to Flip Normals and with a Material Offset for the line art material slot. The furniture and background objects use the technique I learned for this piece which uses grease pencil strokes.
This was also one of my first tries using Grease Pencil. I used it for the outlines on the seats, table and part of the background by:
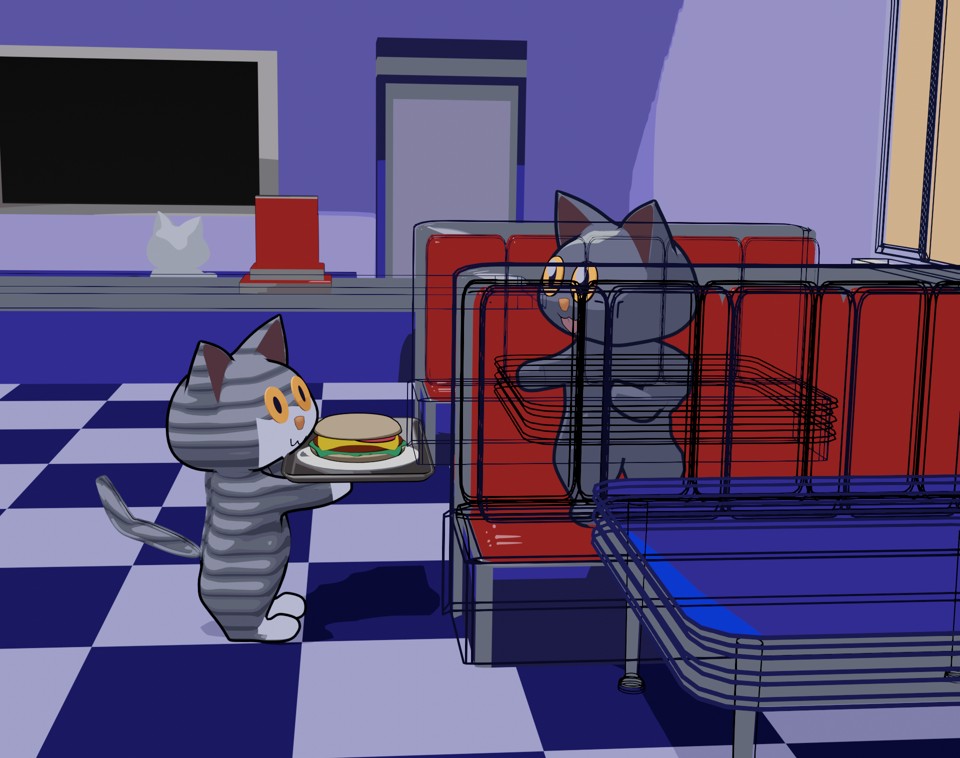
Since this line art is a separate object, that inspired me to take the 1950's style a step further! I remade this piece in a style inspired by the 1950's UPA (United Productions of America) cartoons which are highly stylized and often intentionally had colors and outlines that didn't line up. The background objects intentionally don't have line art in this piece too.
UPA cartoons didn't use shading but I kept shading for this piece to help show this is a 3D render.
Since I hadn't used grease pencil objects before something else I learned is that that I needed to adjust a setting to keep all of them from rendering in front of the rest of the objects.
This isn't supposed to happen ^^;
The solution is to go to the Layer Properties tab and under Data, check the Z box.
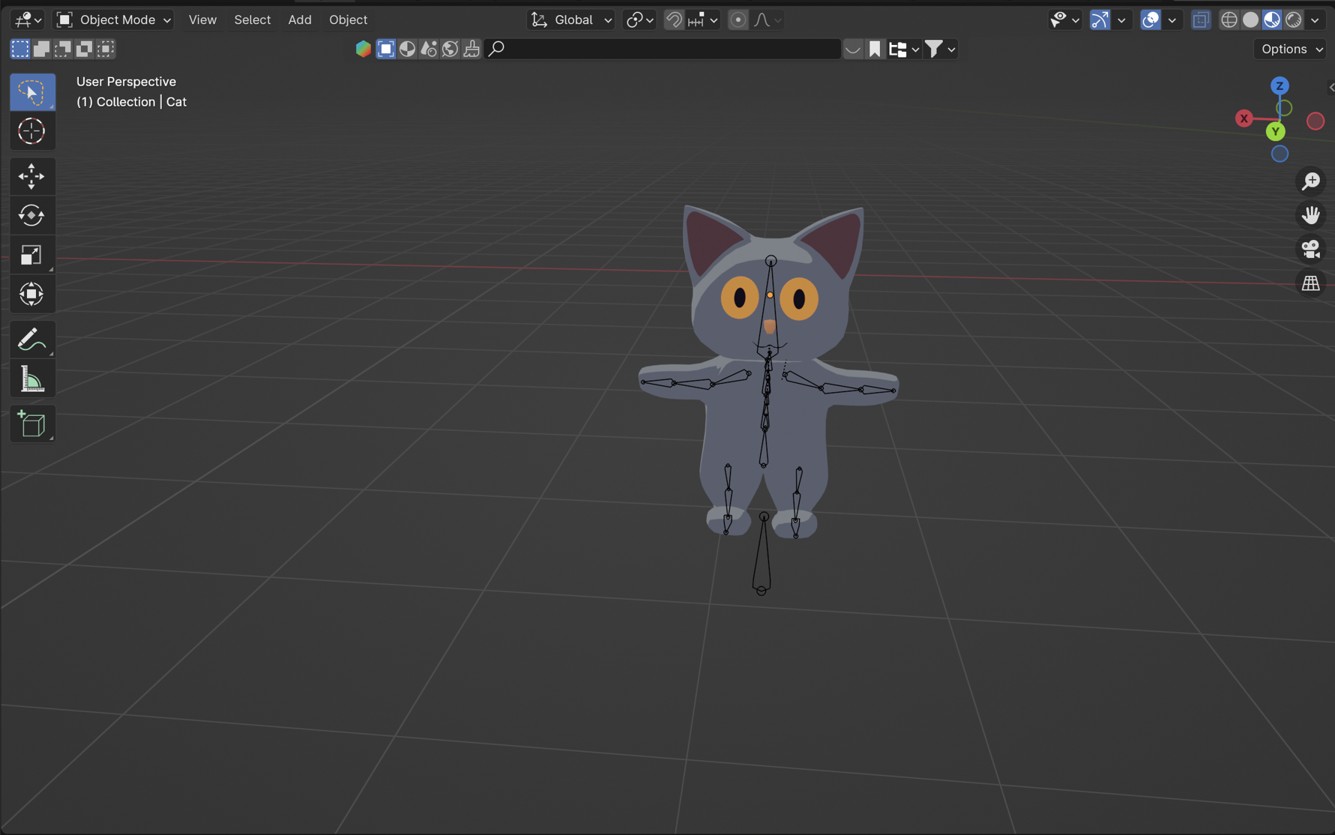
This was a WIP showing one of the cats that was modeled before I finished this piece. Since the cats would be in different poses so I also added an armature rig to pose the model. It's a very simple rig but will work for this model. It's similar to the rig I made for my reference model I've used for several pictures and webtoon panels, but I had an easier time with this new one.
Only the furniture and background were going to be modeled. I planned for this piece to be drawn in 2D and for the render to be drawn over as a reference, some resources I saw inspired me to model the entire piece in a retro flat-shaded style. I had fun with this despite the extra time and challenge this took!
This was another experiment I wanted to try in Blender. The technique I've used before for clouds is simple; a plane mesh has some Color Ramp and Noise Texture nodes and an Invert node to make procedural clouds on a transparent object.
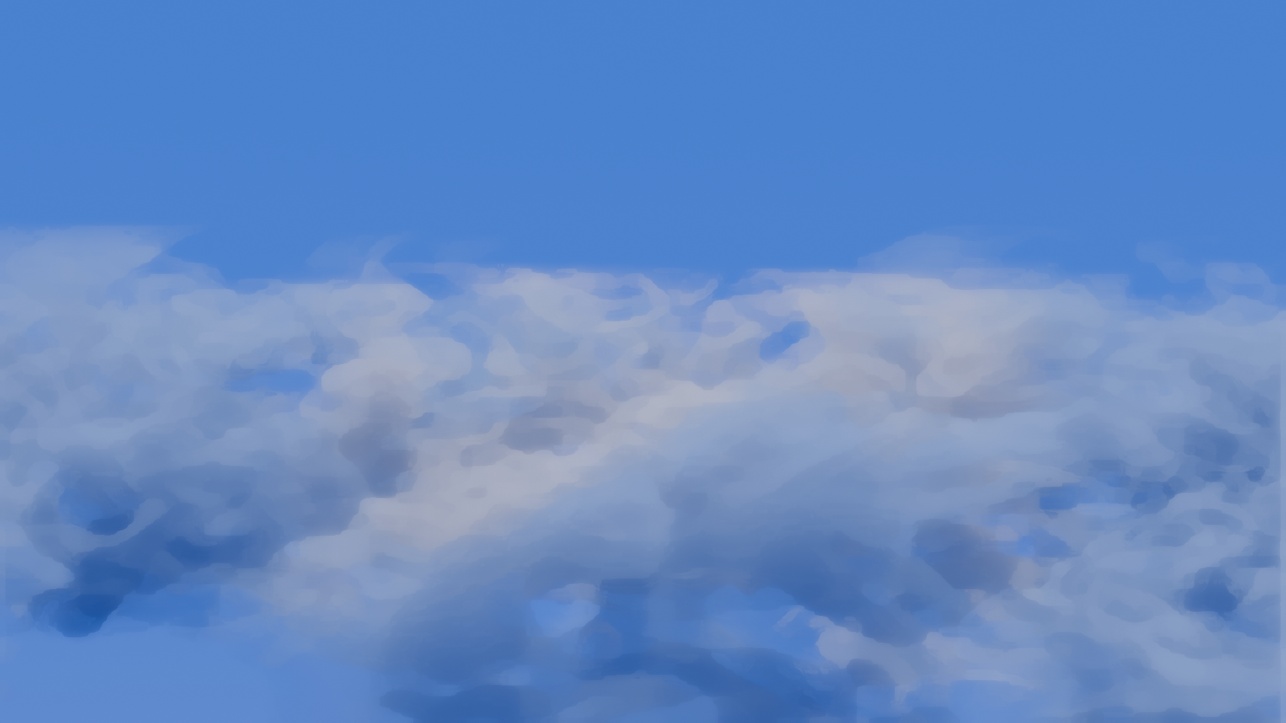
These clouds are 2D and work well with the backgrounds that have them in Anathema to Commonsense since episode 33, but learning how to create volumetric clouds is also helpful because they'd fit in better with some art styles and some angles, and can be created with a lot more control over their shapes. I made this Huevember piece when I learned how to make stylized clouds after the experiment below.
I got the colors to be more stylized with the material I made for the clouds, but the painting effect comes from the Kuwahara compositing node. This node was introduced in Blender 4.0 and it's one of the most exciting updates to me because the Kuwahara node adds an effect to a render that I used to have to do manually. This can be a great timesaver! I've been focusing on becoming more efficient with my workflow and being able to do more of a piece in one program helps a lot.
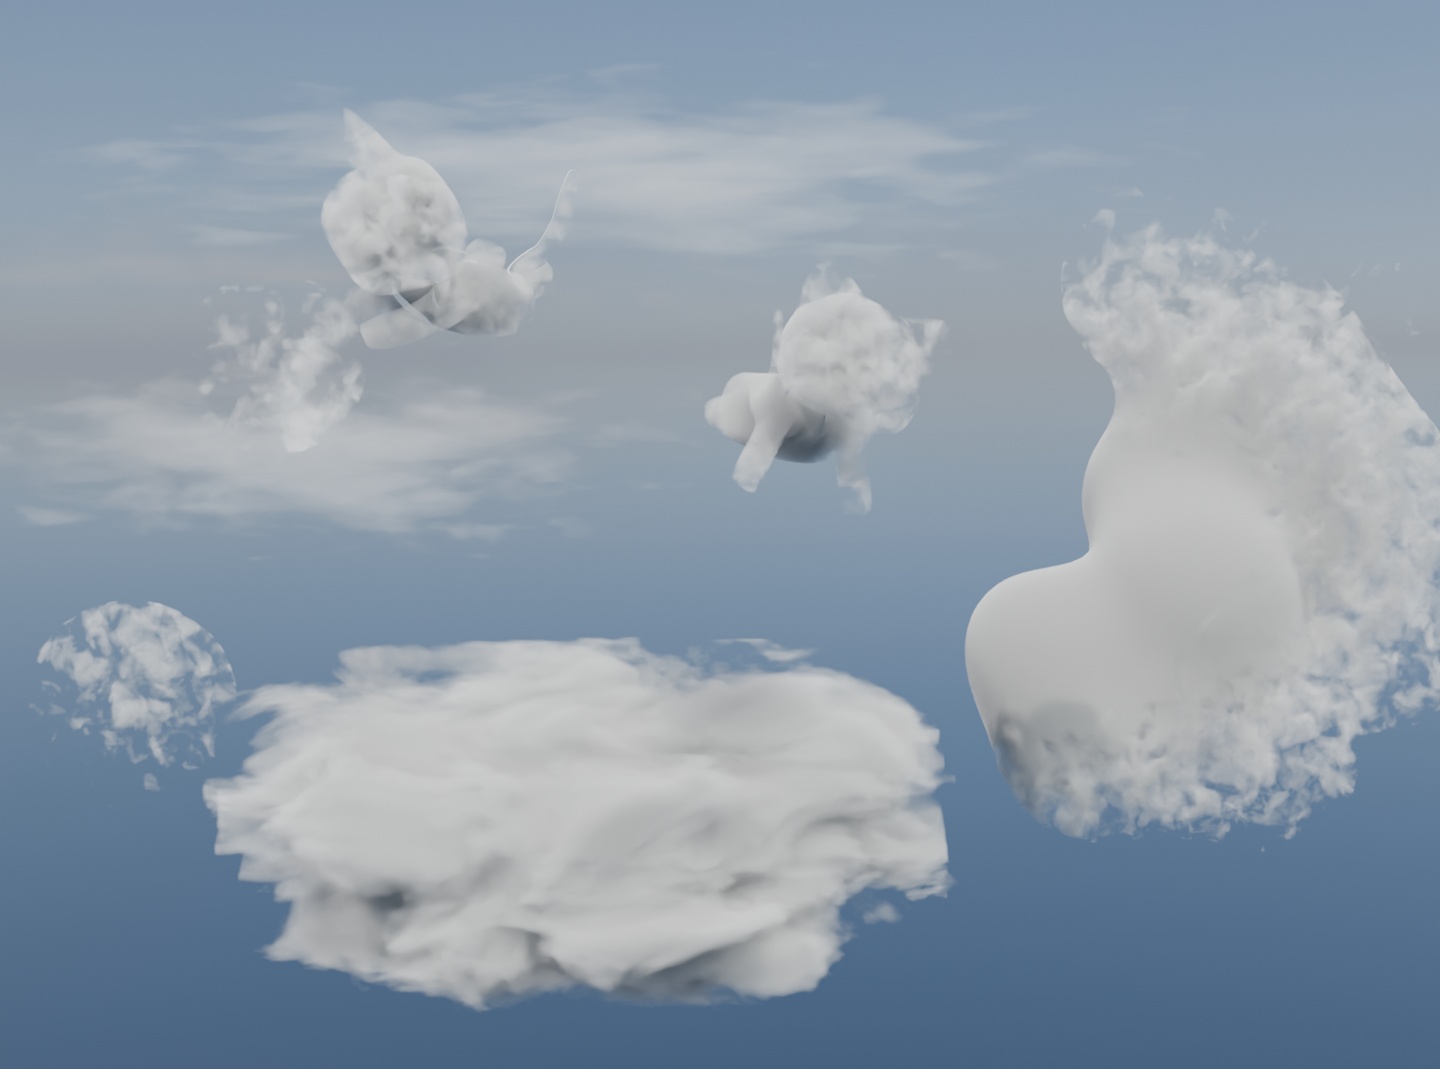
This was my introduction to creating volumetric clouds and the tutorial I followed along with was one for making them realistic. I'd make them more stylized for Anathema to Commonsense, but I wanted to learn how to make realistic clouds before I learned how to stylize them.
My first try was a success! Since the volumetric clouds are materials and can be fit to different objects, I played around with this! One cloud is from a cube, the round ones are from Metaballs and the cats are from the cat model I made for the day 18 piece.

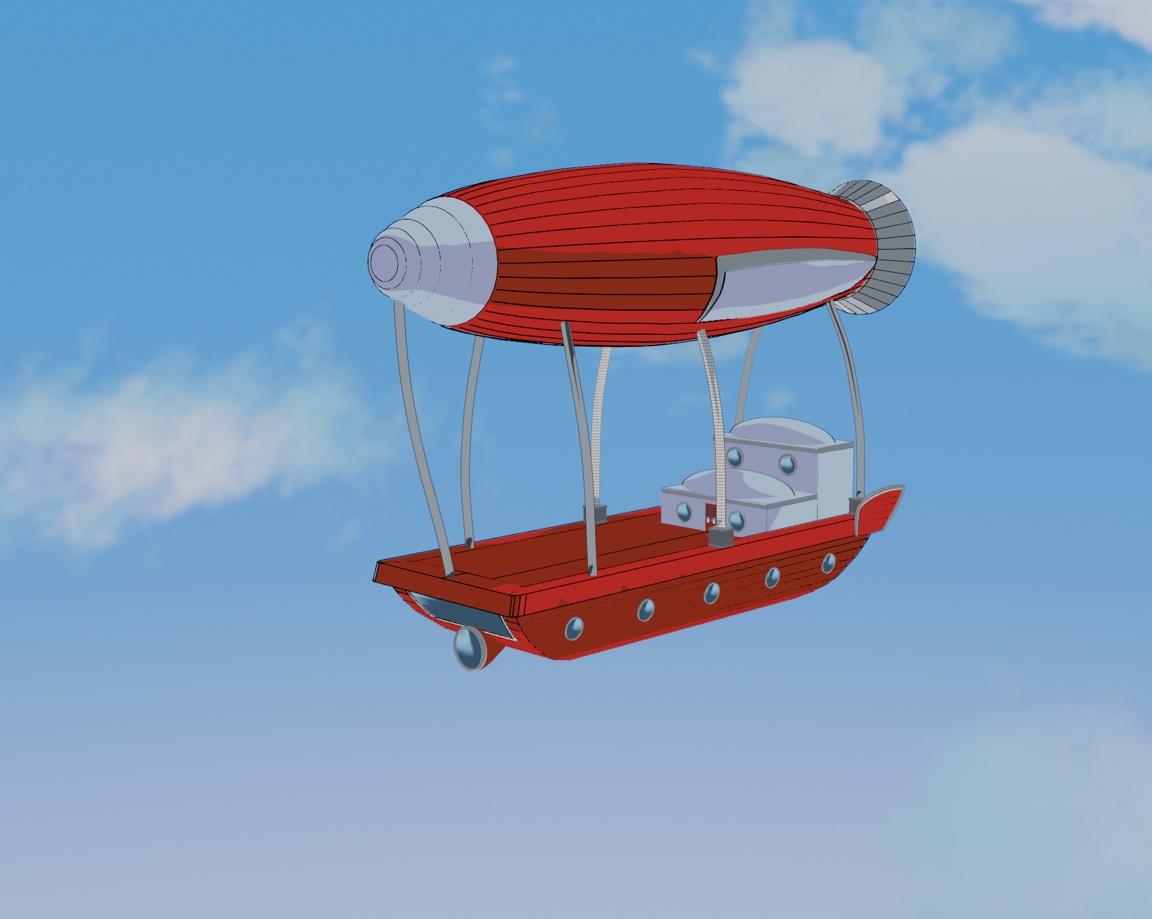
These builds off some of the techniques I used for the day 19 piece and finishes the airship model I designed for last year's challenge for day 21:
The model I made for that piece was based on the drawing before it. I only modeled as much as I needed for the camera angle so this year's challenge was a good opportunity to tie up a loose end; to turn this model that was made to be a reference into a complete piece! This piece also applies the cel-shading and grease pencil techniques I used for the day 18 this year.
Most of the additions were easy to model except for the fins on the side of the blimp. Trying to model them took up a lot of the time that was spent on this on step! 😩
I tried multiple methods and couldn't neatly mold them to fit along the curves of the blimp. There has to be a technique for this. I tried the snapping tool and making sure that the blimp and the objects that made up the fins had enough geometry for it.
My first try was a shape that was created from a single vertex and then extruded several times into the general shape. It was filled to add faces to the mesh and tweak its shape. I tried for who knows how long trying to get it to fit, using proportional editing to move around some vertices, but they always looked uneven. It looked good from the side but I was frustrated when I checked other camera angles and they showed the un-evenness.
My second try was to extrude from a single vert again but just make an edge and then convert it to a curve, apply 3D geometry in the curve settings and try to shape it. I converted it to a mesh, subdivided it to add more geometry and used the sculpting tools to try to fit the shape along the curves of the blimp but it was shown to be uneven when I adjusted the camera angles, just as before.
The third try was to select the faces on the side of the blimp in a shape that'll approximate the fin, duplicate them, separate the duplicate into its own object and adjust the vertices from there. The shape looked the least streamlined but kept the closest fit to the curve of the blimp so I went with it.
They are on each side which was made easy with the Mirror modifier.